Crashplan Backup and Restore
Crashplan Backup Guide
17 May 2011, v0.1
Brian J. Won – brian@ssc.ucla.edu
Using Crashplan 3.03, Windows 7 Enterprise x64 SP1
For local backup on to an external harddisk directly connected to the user’s computer.
Backup:
After downloading and installing Crashplan from http://www.crashplan.com/
Important: go to Windows Explorer/My Computer, pick out your backup drive, and create a folder for backups on it. Crashplan does not let you create new folders within its interface at that step.
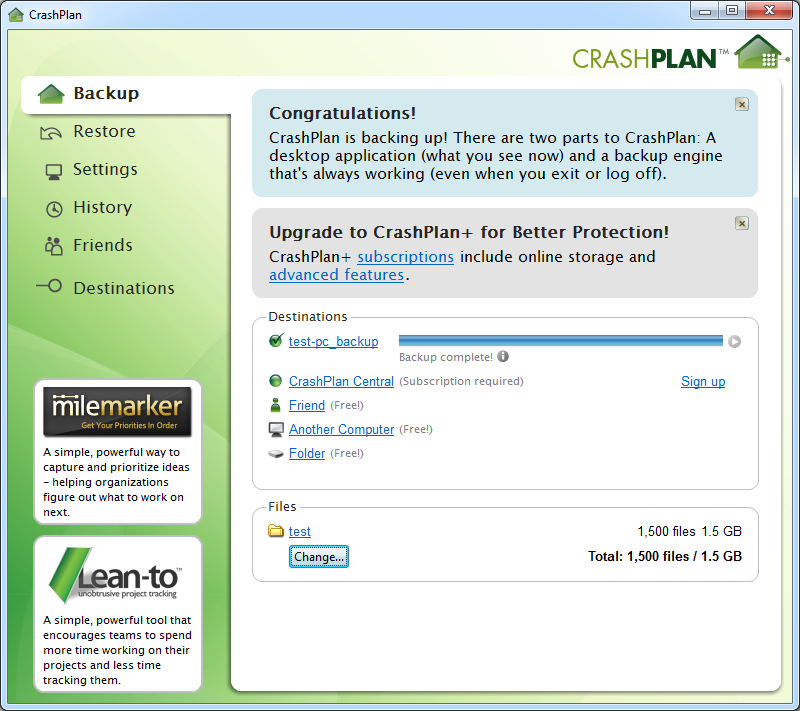
First, from the Backup Screen in Crashplan, select which folders to backup. Go down to Files, which will display your current account username (in this case, test), and hit “change.”
By default, Crashplan will backup the entire user directory. The user may check and uncheck additional directories as you see fit.
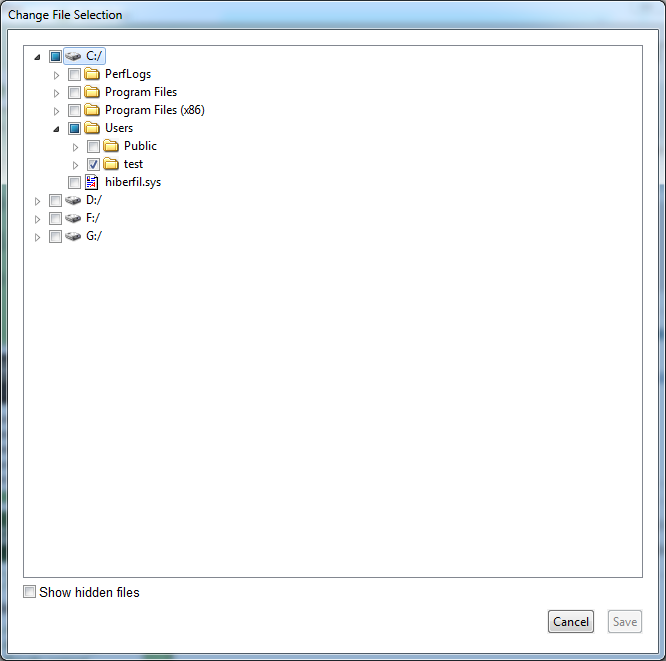
The user should remember that the arrows can expand the directory tree and allow more specific choices to be made.

After saving changes, hit save. (or “cancel” if no changes were made).
Crashplan will then go back to the Backup screen and we can start the backup process.
We will pick Folder as a destination.
Select a destination folder under How to back up to a local folder, step 1: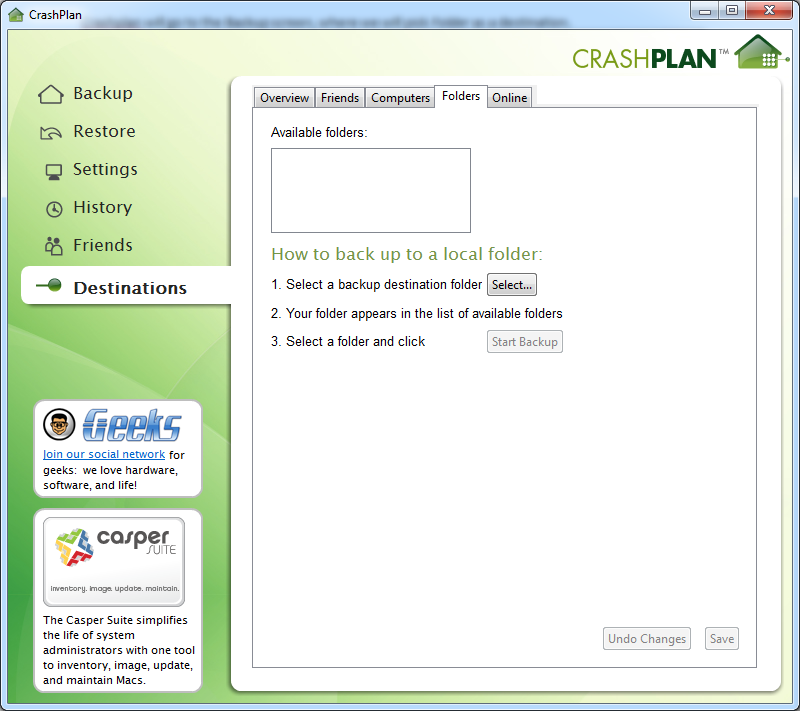
Then pick a directory—in this particular example, the external disk we are using is drive G: (Seagate FreeAgent GoFlex). It will probably be different on the end-user’s system.
Important: go to Windows Explorer/My Computer, pick out your backup drive, and create a folder for backups on it. Crashplan does not let you create new folders within its interface at this step.
We will select test-pc_backup on drive G: that we created previously, then hit Ok.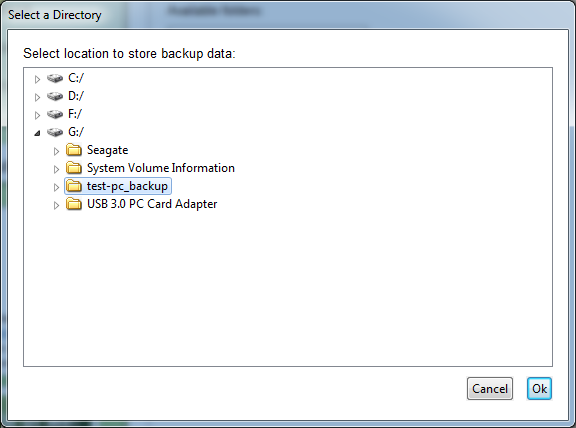
The backup screen will reappear confirming your selection.
Then go to step 3—Select a Folder and click Start Backup.
This will start the backup process.
After (or before) a backup is done, the Settings can be changed as needed.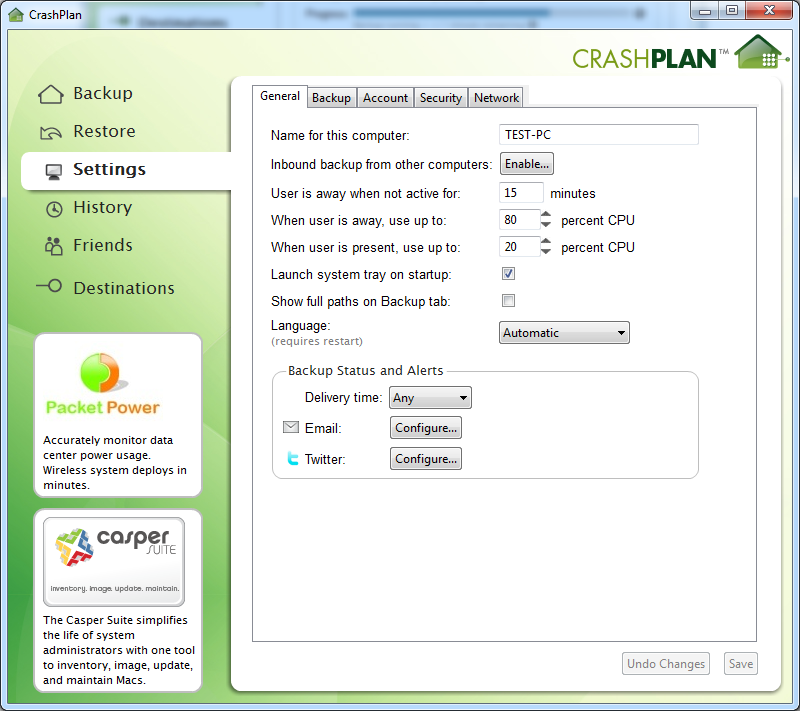
Most users will be interested in going to the Backup tab under this menu (Settings) to adjust the backup frequency.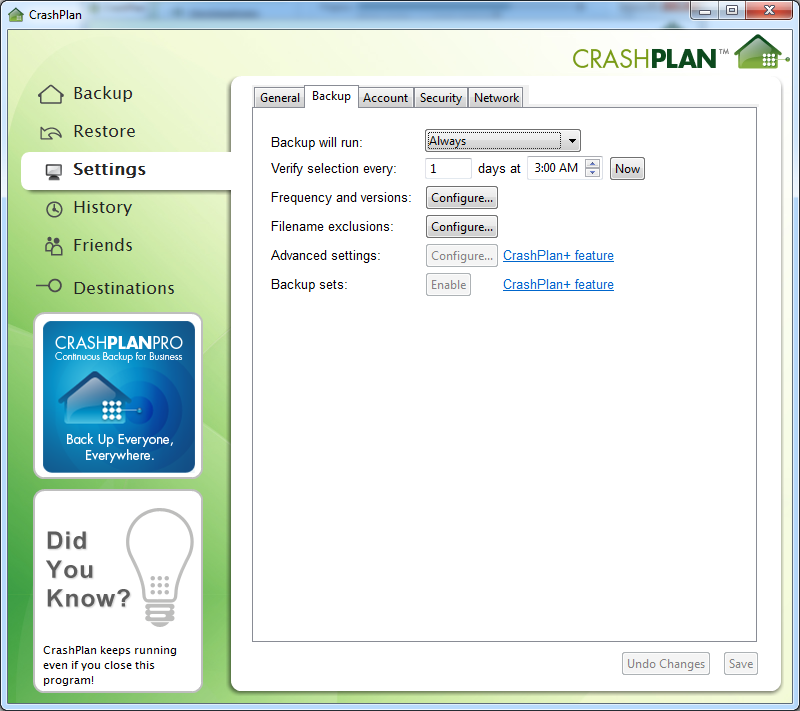
Crashplan by default backs up once a day, everyday (Always run), this can be changed to a more or less frequent periodic backup/scheduled backup under Backup will run to Between specified times, which can be adjusted as needed by the user.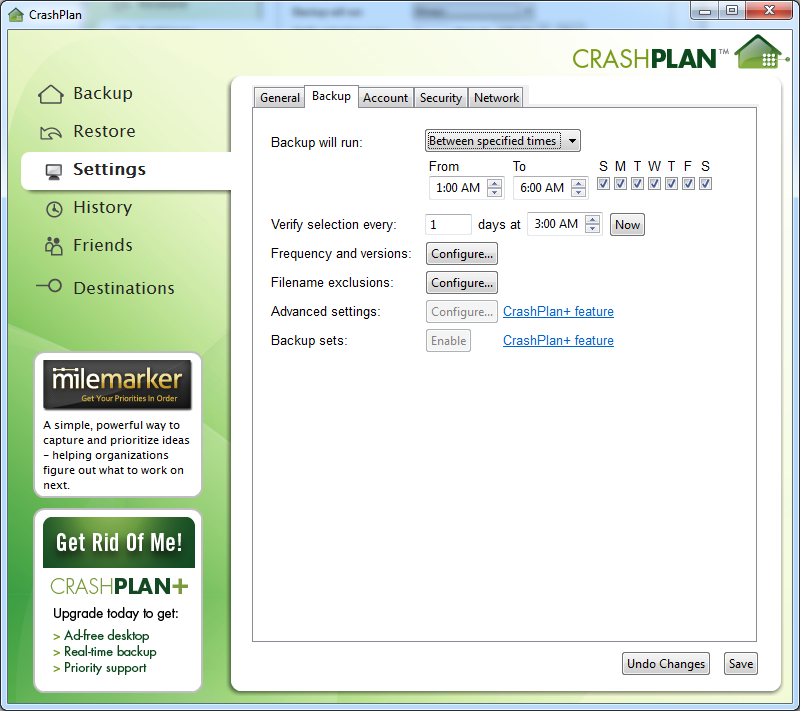
Additional adjustments can be made as necessary.
To force a backup to run now, at the Backup screen next to destinations, hit the “play” button next to backup – below the blue progress bar will change from “next backup in xx hours” to Backup now, and it will run a backup now.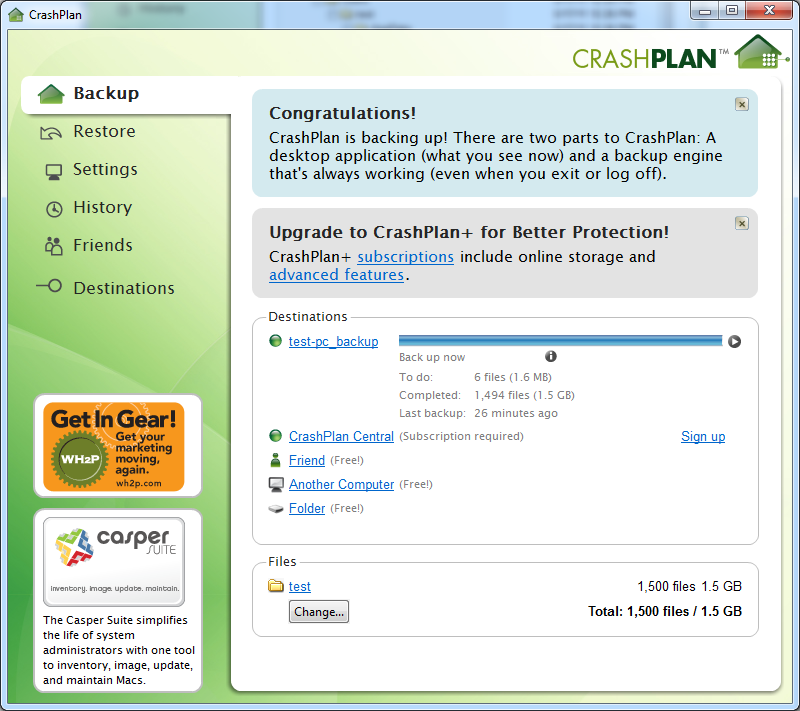
Vs. the normal screen after a backup has been run and it is waiting idle.
Restore:
To access restore, click on the Restore selection on the left-hand menu.
If you wish to select a specific file, go to the top right search box Find files to restore by name or select from list below and type in your desired file—in this case, originalnotes.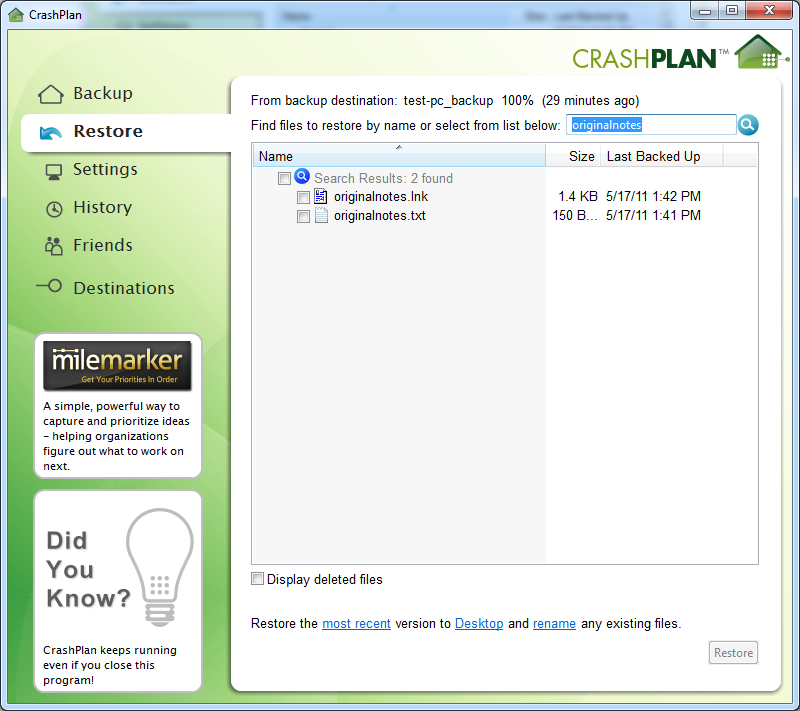
Check the desired file and by default, it will restore it to the Desktop. You may click on the Desktop link at the bottom to change where to restore to— to the desktop, the original location, or to a desired folder.
Default: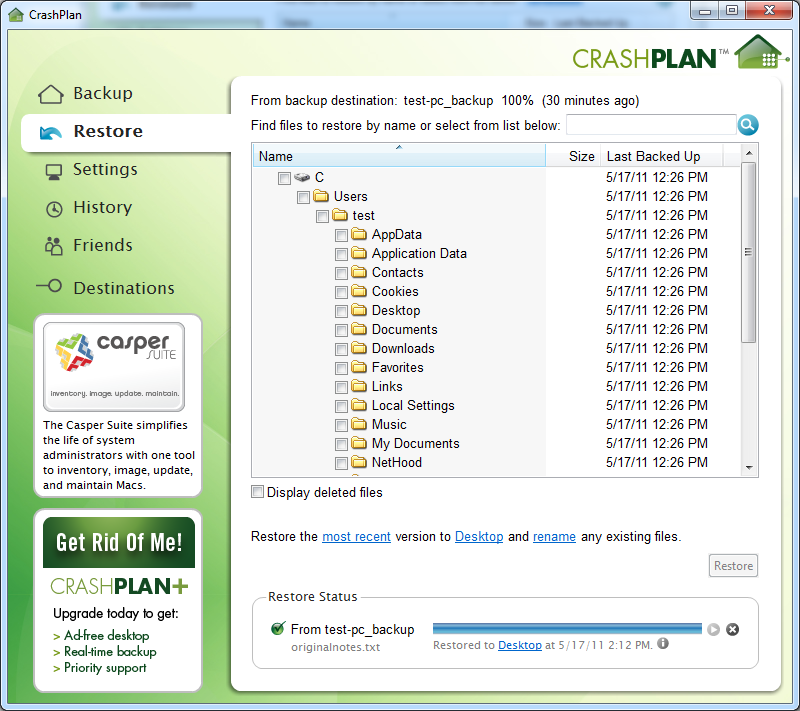
After clicking, twice, on the desktop in blue: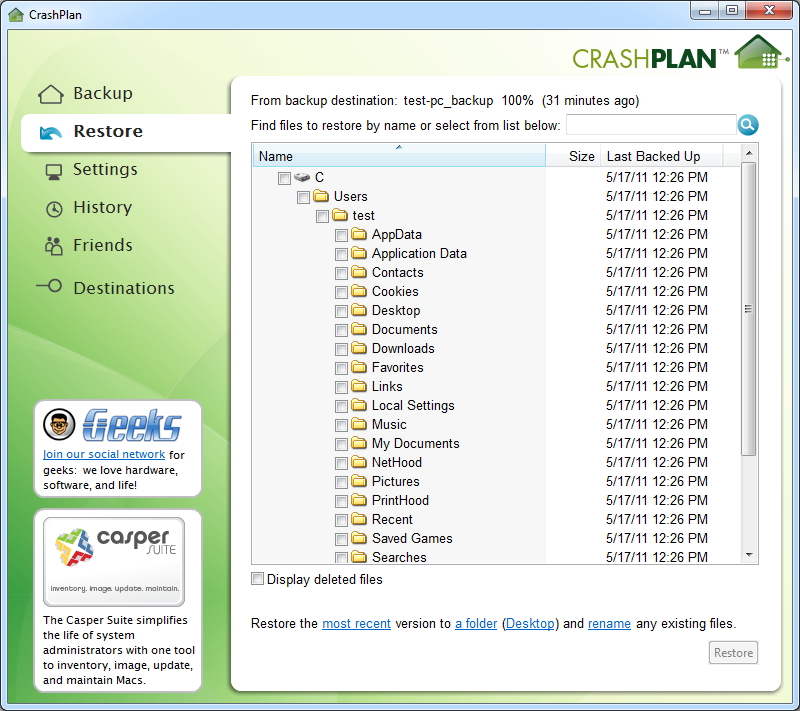
Then hit Restore when done.
It will then report done at the bottom of the screen.
Your restore is now complete.