Faculty profile editing - uploading files to Drupal
Faculty, graduate students, and others may have web-based profiles on Drupal based sites.
Particularly for the publications section of user pages, uploading files is important.
To upload files, using Geography website profiles as an example:
Please note many sites are limited to UCLA networks only, if you are off campus you may need to connect to the UCLA VPN first.
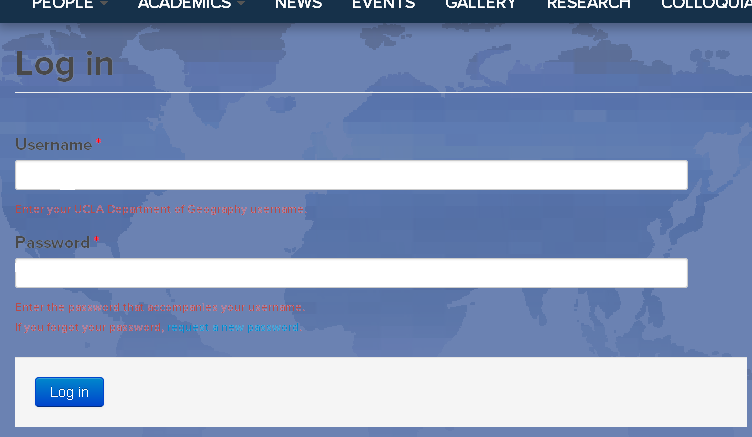
- Login via the Login link at the very bottom of the footer on the main page. Please note that if you are having trouble logging in, you may need to be connected to a UCLA network.

- This will go to the login screen. Login with your appropriate login information. After a successful login, note the black bar with your user name and additional commands now visible at the top and bottom of the screen.
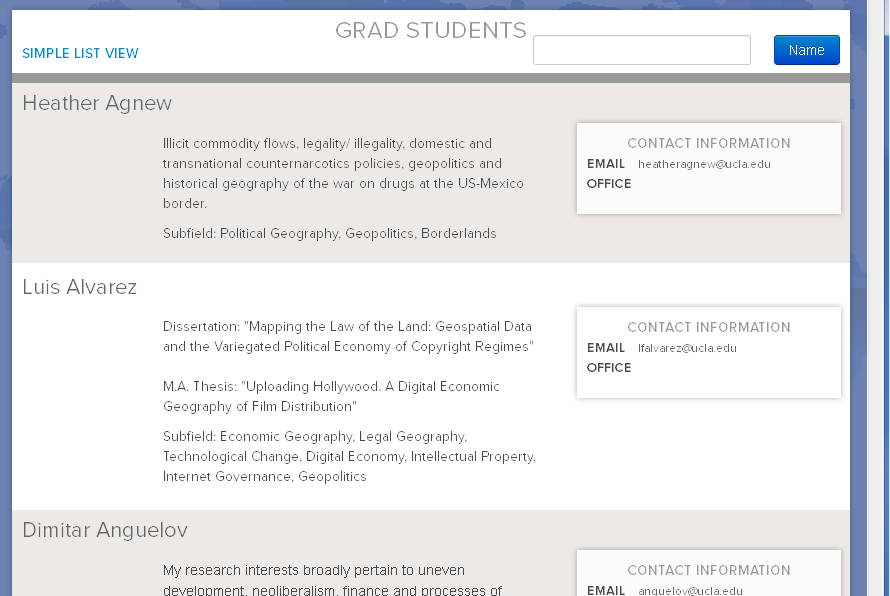
- Navigate to where the user profile pages are located— under the Geography website example, they are located under the People tab, then go to the appropriate section.

- When at the appropriate section where your profile is located, navigate to your own profile and click on your specific profile page. In this example, we use a Grad Student Profile. If there are lots of users with profiles, you may need to scroll until you see your user profile.
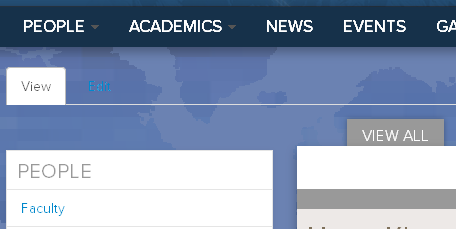
- Once on your own profile page, you should now see a (potentially hard to read) row of tabs that contain additional commands. The View tab is selected by default.
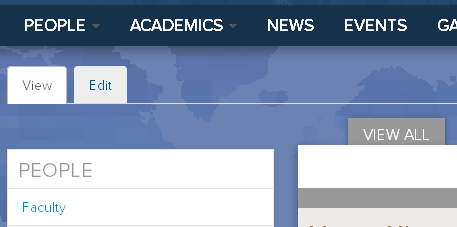
- Please click on the Edit tab to load the editing view of your profile page.
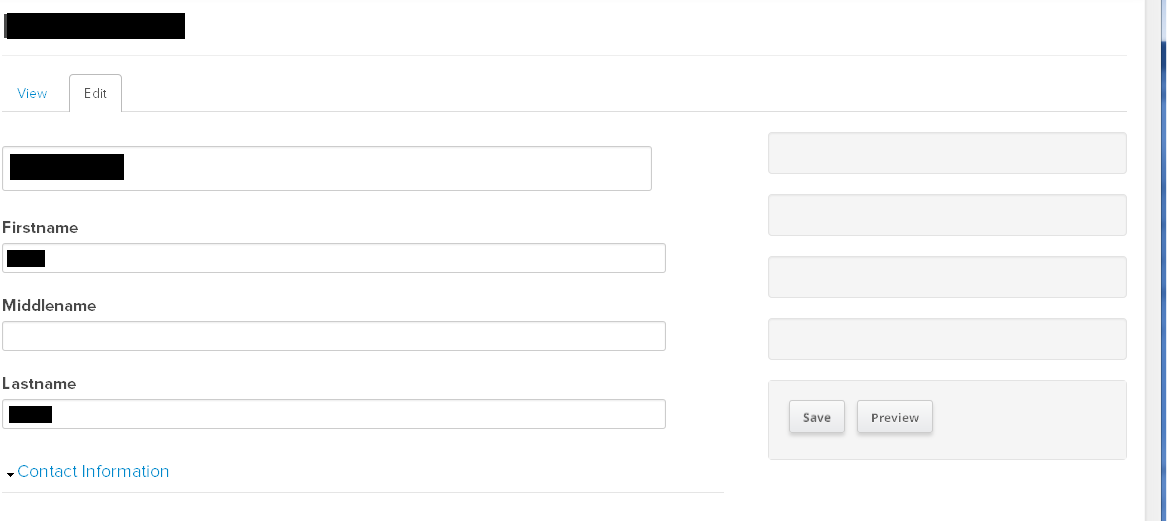
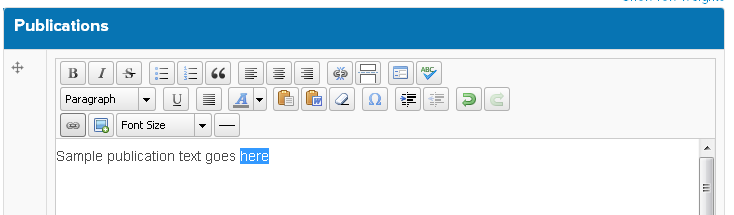
- Scroll down to the section you wish to add a file to. In this example, we want to add descriptive text and file to the Publications section.

- Type in your text, then select the words you would like to make a link for your file. Then click on the button that looks like a chain link. Note that in the previous step, the link button is disabled (greyed out); once you select text, it becomes enabled.
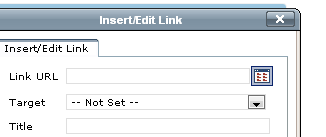
- This will cause the Insert/Edit Link window to appear. (Note: if you just wish to insert a link at this stage, you may insert a link URL in this window and then skip most of the remaining steps.)

- To upload a file, click on the file browser button to the right of the Link URL line.
- The File Browser window appears. Note the file location— standard users are limited to only their user directory.
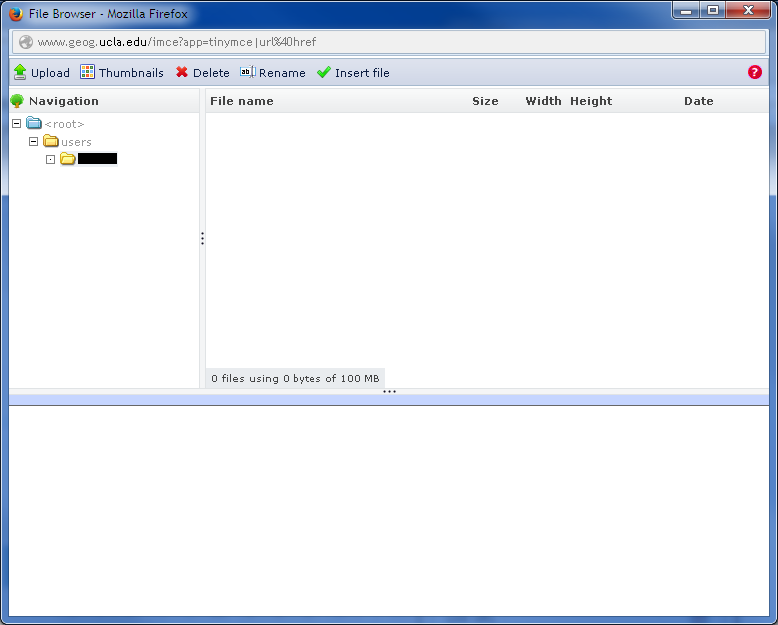
- Click on the Upload button at the top left to open the Upload window.

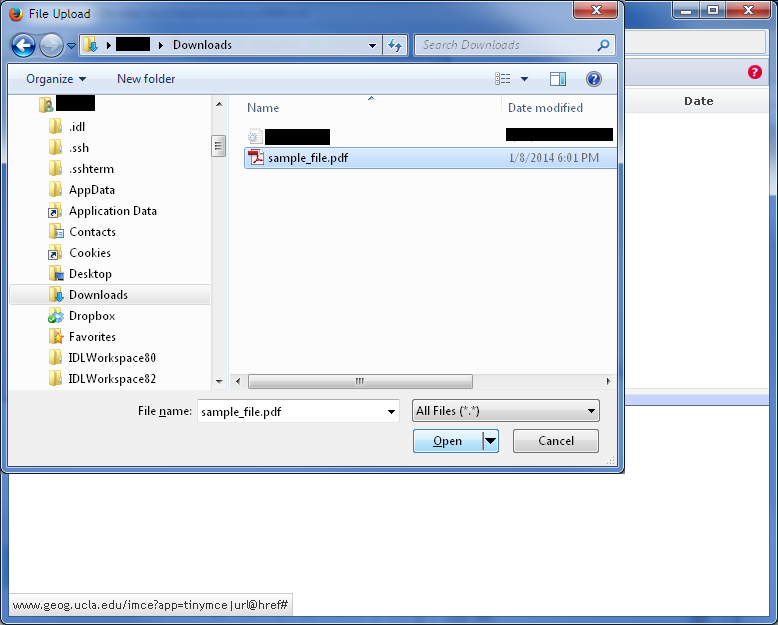
- Click on Add Files to open a file browsing dialog, navigate to the file you wish to upload on your computer, and hit _Open. In this example, we will upload sample_file.pdf
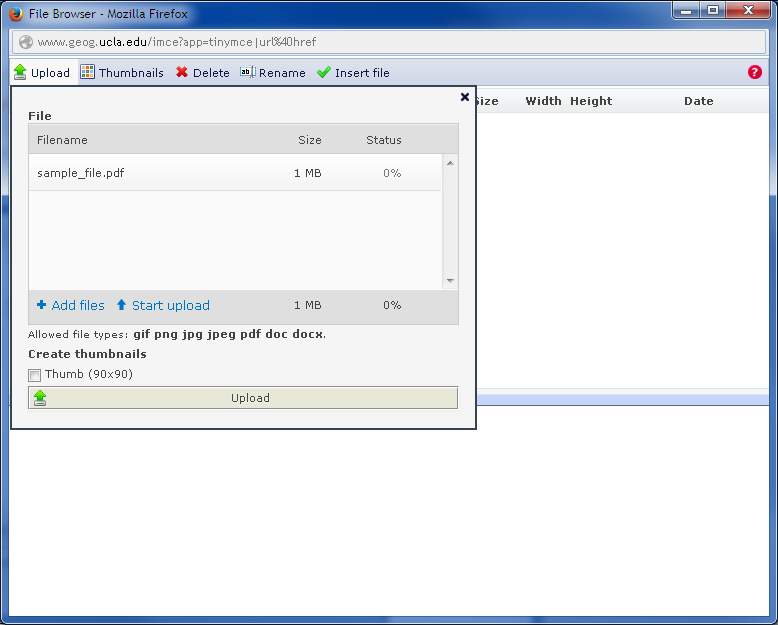
- The Upload window will now show the file you selected on the previous window. Please hit either the Upload or Start Upload button at the bottom of the screen to upload your file.
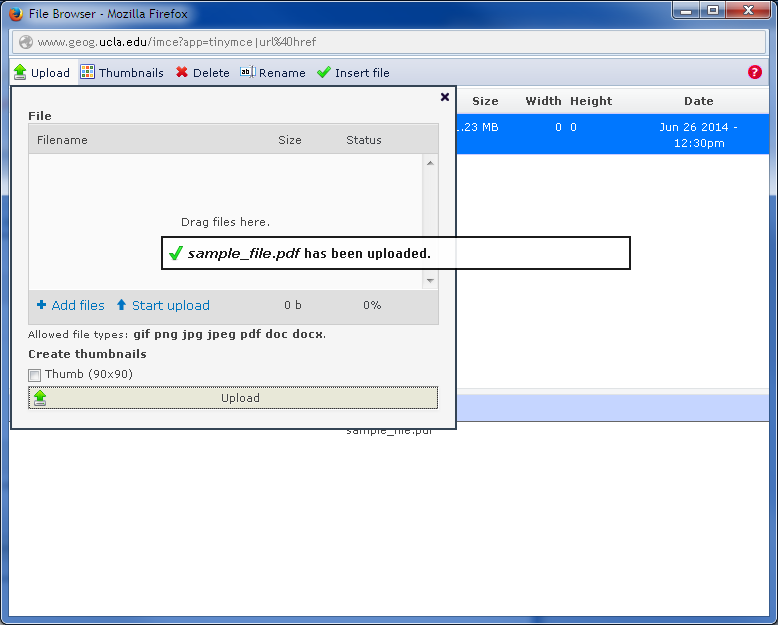
- Confirm your file has been uploaded when the confirmation dialog appears.
- Please close the Upload via the black x at the upper left corner within the Upload window. Note: do NOT close the entire File Browser window by accident!
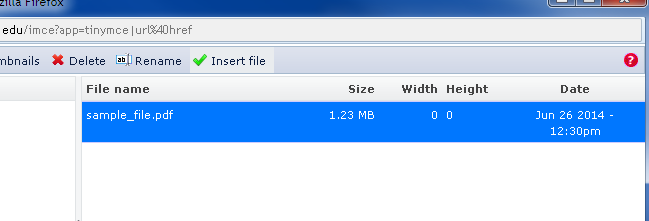
- This will return you to the File Browser window. Note that your uploaded file should now be displayed and selected. You may then hit insert file at the top right to insert the file and close the File Browser window.
- This will return you to the Insert/Edit Link window. Please note the link URL field should now be populated with your file; the location may be complex but near the end it should list your file name.
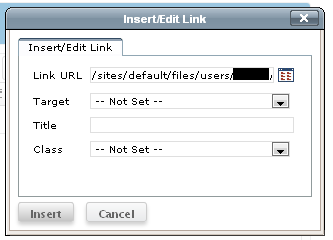
- Hit the Insert key at the bottom left (note that it is highlighted) to finish your file upload and link creation.
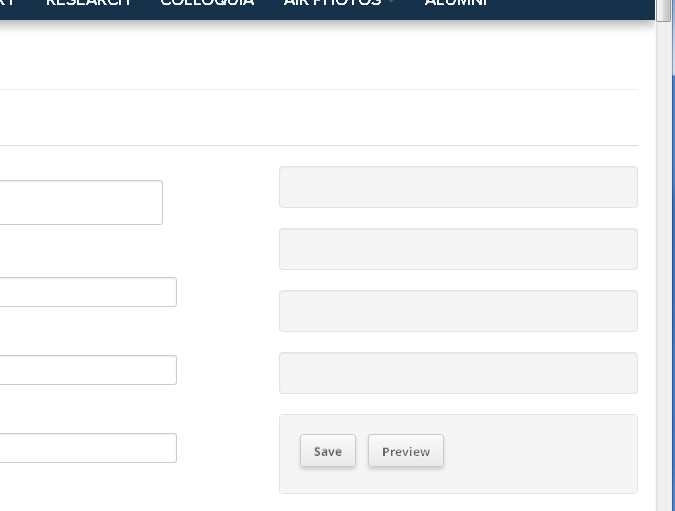
- Back in the Publications window, note your newly entered text that was previously selected for the link is now colored as an active link (representing your newly uploaded and linked file).

- Scroll back to the top of your profile page and hit the Save button. Please note, skipping this step will cause your changes to be lost.
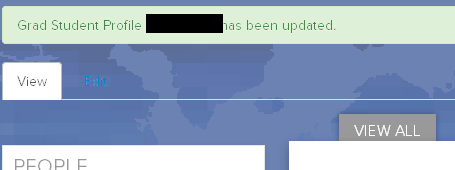
- Back in the standard view of your profile page, scroll down to the text you added or changed (in this example, under Publications) and verify the changes have been made and the newly added file is linked. You should also see a notification at the top of the page indicating your profile has been updated (in this example, a Grad Student Profile was updated).

Same text as above, without screen shots:
- Login via the Login link at the very bottom of the footer on the main page.
- This will go to the login screen. Login with your appropriate login information. After a successful login, note the black bar with your user name and additional commands now visible at the top and bottom of the screen.
- Navigate to where the user profile pages are located— under the Geography website example, they are located under the People tab, then go to the appropriate section.
- When at the appropriate section where your profile is located, navigate to your own profile and click on your specific profile page. In this example, we use a Grad Student Profile. If there are lots of users with profiles, you may need to scroll until you see your user profile.
- Once on your own profile page, you should now see a (potentially hard to read) row of tabs that contain additional commands. The View tab is selected by default.
- Please click on the Edit tab to load the editing view of your profile page.
- Scroll down to the section you wish to add a file to. In this example, we want to add descriptive text and file to the Publications section.
- Type in your text, then select the words you would like to make a link for your file. Then click on the button that looks like a chain link. Note that in the previous step, the link button is disabled (greyed out); once you select text, it becomes enabled.
- This will cause the Insert/Edit Link window to appear. (Note: if you just wish to insert a link at this stage, you may insert a link URL in this window and then skip most of the remaining steps.)
- To upload a file, click on the file browser button to the right of the Link URL line.
- The File Browser window appears. Note the file location— standard users are limited to only their user directory.
- Click on the Upload button at the top left to open the Upload window.
- Click on Add Files to open a file browsing dialog, navigate to the file you wish to upload on your computer, and hit Open. In this example, we will upload sample_file.pdf
- The Upload window will now show the file you selected on the previous window. Please hit either the Upload or Start Upload button at the bottom of the screen to upload your file.
- Confirm your file has been uploaded when the confirmation dialog appears.
- This will close the Upload window (if not, please close it manually via the black x at the upper left corner).
- This will return you to the File Browser window. Note that your uploaded file should now be displayed and selected. You may then hit insert file at the top right to insert the file and close the File Browser window.
- This will return you to the Insert/Edit Link window. Please note the link URL field should now be populated with your file; the location may be complex but near the end it should list your file name.
- Hit the Insert key at the bottom left (note that it is highlighted) to finish your file upload and link creation.
- Back in the Publications window, note your newly entered text that was previously selected for the link is now colored as an active link (representing your newly uploaded and linked file).
- Scroll back to the top of your profile page and hit the Save button. Please note, skipping this step will cause your changes to be lost.
- Back in the standard view of your profile page, scroll down to the text you added or changed (in this example, under Publications) and verify the changes have been made and the newly added file is linked. You should also see a notification at the top of the page indicating your profile has been updated (in this example, a Grad Student Profile was updated).